Saturday, December 31, 2011

Dress to Skirt and shirt - Refashion

I saw this cute dress in Savers and immediately saw it's potential.  The bottom of it was screaming SKIRT to me and it was wide enough to make one to fit me where the dress would have been way too small.


I laid the dress out and cut the bottom off leaving just enough to sew a gathering stitch where I could adjust the width to fit  my waist and attach it to some wide elastic.

This was so simple to do, I don't think I am even need to explain it.  Now I can't wait until spring so I can wear it!


So as to not waste anything, I hemmed the bottom of the top portion and turned it into a cute summer top for my daughter.  It fits her perfectly.  (bad photo, the color is all wrong)


Denim Tie-Neck - Refashion

While searching the web for a black and white polka dot tie-neck blouse, I came across this picture of a denim version and fell in love.  But, it cost $67 and I refuse to pay that much for a shirt.


So...what do I do?  I make my own!  I knew I had a couple of very old man-shaped denim shirts in my closet left-over from sadder fashion days.


I didn't take any photos of the shirt before, but I'm sure you get the idea.  They were loose and boxy and not very fashionable.  They were also a very light chambray color and I wanted my shirt to be darker like my inspiration photo. 

I bought some RIT dye in Denim and dyed them before I started cutting.  I'm not in love with the color that came out but it's livable.

First, with my hand dandy seam ripper, I removed the collar from the shirt I would use as the base.  The only other alterations I made to that shirt was to give it a more feminine shape.

From the second shirt, I cut what would become my bow. I took off the front pockets and sewed all around them and the ties with Coats Dual Duty Denim Thread which is the gold color we're all familiar with from our favorite Levi's.

I then attached them to the shirt and was done.


Wednesday, December 28, 2011

Can you say OMG??? Boot Refashion

I am loving this!  Who knew refashioning could be so fun?  I am building the cheapest, unique, and most awesomest wardrobe in the world!

While we were shopping at Saver's the other day, I was looking for pumps that I could glitterfy (see earlier post).  My search was very narrow, so I thank GOD my oldest daughter was with me and pointed out these boots. Once I came out of my high-heel-fog, my mind started spinning with possibilities.  They had so much potential.


When I got home, I dug through my fabric stash for something with enough yardage to cover the boots and enough personality to deliver on my vision.

I settled on this pink, orange and white polka dotted fabric without even realizing it would match my cardigan refashion I started the same night.

I started out by adding pieces of newsprint to the boots in order to make a pattern to cut out the fabric.  I sectioned it out so that I would have separate pieces of fabric for each side and another for the top/front of the boot.  I taped pieces of paper together to get the best coverage and used a razor knife to trim it to the right size and shape.

After the boot was covered with the paper, I carefully removed it and transformed it into a flat shape which I pinned to my fabric.  Both sides of each boot were the same, so I only used one template and cut both pieces from the fabric at the same time with wrong sides together (giving me mirror images).  See below for what it looked like before I cut.


I then used Modge Podge to adhere the fabric to the boots and used my handy dandy razor knife to trim it to fit perfectly.    If you try this, work fast so that the modge podge remains wet while you pull and slide the fabric into place.  My fabric also stretched a bit as it absorbed the modge podge and made it easier to form fit.  I cut slits on the front piece so that I could layer it and mold it into a rounded shape over the toe.

After the fabric was on, I painted more modge podge over the entire surface to "seal" it and painted the back strip and areas near the laces with Martha Stewart orange glitter paint which allowed the black to show through and gave it a refreshed and professional look.  I then allowed the boots to dry completely overnight (at least 24 hours) and then sprayed them with Plaid Royal Coat Spray Finish which made them shiny and gave them further protection from the elements.

drumroll please..........


Can you say $9.99 Doc Marten/John Fluevog knock offs?  I knew you could.

See below for some more boot porn.


Faaaaaaaabulous! Shoe Refashion

Here are a pair of booooooring tan pumps I bought at Savers for $6.99.

They went from this....

 
To this....


All it took was some Modge Podge and some glitter.  You'll definitely want to seal them to keep the glitter from falling off with every step.  I used Plaid Royal Coat High Gloss Finish Spray which I found at Michel's in the glue section.  Be sure to buy a high gloss sealer so the glitter isn't dulled.

Aren't they FABULOUS??


Tuesday, December 27, 2011

Cardigan Refashion

When I went to Saver's yesterday, I bought this pink cardigan for $5.99 and also bought an orange table runner.

I removed the lace from the table runner and added it to the sweater along with a ruffle I made out of the main piece. I am LOVING it!


Sunday, December 25, 2011

Christmas Refashion


Last week, I decided to take a stab at recreating the Corporate Zip Top from the Brassy Apple Blog but I wanted mine to be a Christmas shirt.  So, I dug out this great, red plaid, men's, button down shirt I picked up at the Salvation Army.


Here is a picture of the sleeves after I cut them to the length I wanted and then gathered them and sewed a band on to neaten them up.  I can't even begin to try to explain how I did it because I just winged it.  But, basically, I put the shirt on and cut them to a length about 2 inches shorter than I wanted them to be. I cut two strips about 4 inches wide, and long enough to circle my biceps and sewed each of them into a ring. I then folded it in half so use as a 2 inch cuff and pinned the gathered edge of the sleeve inside of the doubled edge being sure to keep all of the raw edges inside to make it nice and neat.  Then I just sewed around the circumference of each sleeve.  I can try to draw a diagram of what I did and upload it if anyone needs help recreating it.


I don't know why I thought a shirred bodice would look good on my body, but somehow I made myself believe it and went through all of the trouble to make it only to resign myself to the fact that I will have to wait until next Christmas when I WILL BE at least 20-30 pounds lighter (you heard it here first) to wear it.

If you decide to make this shirt, be sure to buy 2 - 20 inch zippers for the ruffles and 1 30-40 inch zipper for the collar.  The instructions just say 60 inches. It doesn't say how it will be divided up.  Each ruffle is about 10 inches long before it is gathered and there are 4 ruffles.


Friday, December 23, 2011

Living Room project

I've been working on my living room on and off for the past several months. I bought the roman shades I had always wanted and a TV stand at IKEA.

I decided that I had dusted enough so I took everything off of the walls and started painting design instead. Now I have a living room like no one else.

This is hand drawn and painted. Quite a lot cheaper than those wall decals.

Wednesday, December 21, 2011

Indian Sari Refashion

Last year I was browsing through my local thrift store, Savers, and found the most beautiful Indian Sari. I knew I would never wear a Sari nor was I a size 2, but I was drawn to the fabric and just couldn't leave it behind.  It had a really cool design on the edge that made me think of a tunic I had seen somewhere before so I decided to buy it with plans to transform it into a tunic.

I searched the web for a tunic pattern and finally found The Schoolhouse Tunic.

Recently, I caught the sewing bug again (thanks to my china raincoat project) and have been scouring the web for ideas to upcycle or refashion items in my closet or items I find at thrift stores.  Finally jumping into this project felt intimidating but I really wanted to make something unique that no one else would have (which is most of my style).

I ripped the seams out of the tunic and laid it out on my dining room floor.  No matter how I moved the pattern pieces around, I could not get it to all fit on so I decided to make it a size smaller.  Still, it seemed hopeless getting the pieces laid out.  I said a small prayer, shuffled them around again and voila! The only way to make the puzzle pieces fit, lined up the neckline of the tunic right on the edge pattern that had inspired me to do a tunic in the first place.

Here is a picture of my adorable youngest daughter modeling it for me (since it is now my new weight loss goal so I can fit into it myself).

I had to do seams in the middle of the back pieces because the fabric wasn't wide enough, but I think it looks like it was supposed to be made that way.  I LOVE it!


Tuesday, December 20, 2011

Amy Butler Rainy Days Hooded Raincoat

I made this raincoat back in April to bring with me to China when I couldn't find a raincoat that suited my personality.  It was my first time sewing with laminated fabric. I'm in love with the finished product but I have to say, it messed up my machine.  I had to have it serviced/cleaned before I could use it again and of course it stopped working before I was done so I had to use a friend's machine to finish it in time for the trip.

If you decide to make one, I suggest googling "tips for working with laminated fabric" before starting.

Monday, December 05, 2011

Work in progress

Can't afford those pricey wall decals? Paint your own!

I'll post updated pics when it's done.

Monday, November 28, 2011

WOW! I can't believe I never blogged about China. Sorry!

I'll start with Beijing where we began our journey and spent the first three days.  The city was very dirty and the smells were hard to get used to, but the history there is overwhelming and we enjoyed it very much.


The food was amazing.  We had heard that it was nothing like here in the States, and they weren't kidding.  I'd go back just to have the food again.  We ate everything with chopsticks and had no problem adjusting.  They did have forks available, but we wanted to enjoy the whole experience.


The highlight of the trip was our day at the Great Wall of China.  It was a bit overwhelming and the gravity of the "situation" didn't hit us until we were back on US soil. We had the Holy Sh!t moment, WE WERE STANDING ON THE GREAT WALL OF CHINA!

I think the reason it didn't hit us when we were there is because it seemed so touristy which detracted from the experience a bit. We even went to one of the lesser visited parts.  If I never hear, "Lady, Lady $1. For you, lady lady $1", again I will be all set.  LOL  (the walk up and back was lined with vendors selling their wares).


 The second day in Beijing we went to the Forbidden City. There were so many people there. It was awesome but wasn't what I was expecting.  No one is allowed inside the buildings and it was hard to see in through the windows and doorways due to the amount of people there. But, still, knowing that I was standing in the same spot as many former Emperors or Empresses was cool.


 Later in the day we took a tour through a Hutong which is a small neighborhood comprised of alleyways and courtyard homes.  They are slowly disappearing due to the fact the goverment is working hard to modernize Beijing.


 As I said, the food was amazing, but we still had to venture into McDonald's to see what was up.  There weren't too many surprises other than the fact they put an egg on their chicken sandwich and they have dark meat chicken rather than the white meat Americans demand.


After the Hutong tour, Abby got an impromtu Chinese Calligraphy lesson.  It was one of the highlights of the trip.


Below is what the Chinese know as Snake Wine.  The (venomous) snake is alive when it goes in and yes they DO drink it.  It is attributed to their health and longevity.


One of the last places we visited was the Olympic Site. 


We also visited Summer Palace (above) and the Temple of Heaven (below). 


And finally, no trip to Beijing is complete without Peking Duck. We ate at Dadong Roast Duck and it was AMAZING (it's hard to describe anything related to this trip without using the word Amazing!!)


Xi'an and the Soft Sleeper fiasco

Whoever said three cities in 9 days was doable is insane...oh wait, that was me. LOL

Seriously, if I was a well seasoned traveler or was traveling with a group (including someone else to help with the responsibilities of getting us where we needed to be) it could be ok. But, I was NOT expecting the stress of handling all of this myself and have decided it was the stress of planning the trip that caused all of my sickness during the months preceding the trip.

How do I know this?  BECAUSE I GOT SICK ON THE TRIP TOO and didn't get sick again after we were back home.  When did I get sick? Oh, just the worst possible time...on the overnight train to Xi'an.  I thanked God for opening the doors that caused me to book a private room with a bathroom, although it was much more expensive.  I was so sick all night. I don't know what I would have done in a room with strangers and a bathroom down the hall.

The room was cool. The beds were hard as a rock, but I wish I could have enjoyed the experience more. There was no time for enjoyment.  I just wanted it to be over. TWELVE HOURS, with a bad stomach on a train is not what I would recommend to anyone.


But, here is the cool room  and the scene of the crime.....


Poor Abby was exhausted after just three very busy days and didn't get much sleep on the train with me being sick.  She sure was a trooper though!


We stayed in a beautiful hotel in Xi'an but missed a whole day of our planned itinerary.  I stayed in bed and Abby watched movies on HBO (only channel with English) and ate room service all day. I never heard a complaint.  LOL

Unfortunately, the part we missed included the Dumpling Banquet and the show.  We could have gone on Day 2 after we crammed in everything else, but I still wasn't feeling great and the thought of stuffing myself with Dumplings was not appealing at all and Abby wasn't hard to convince (she was overwhelmed and exhausted).


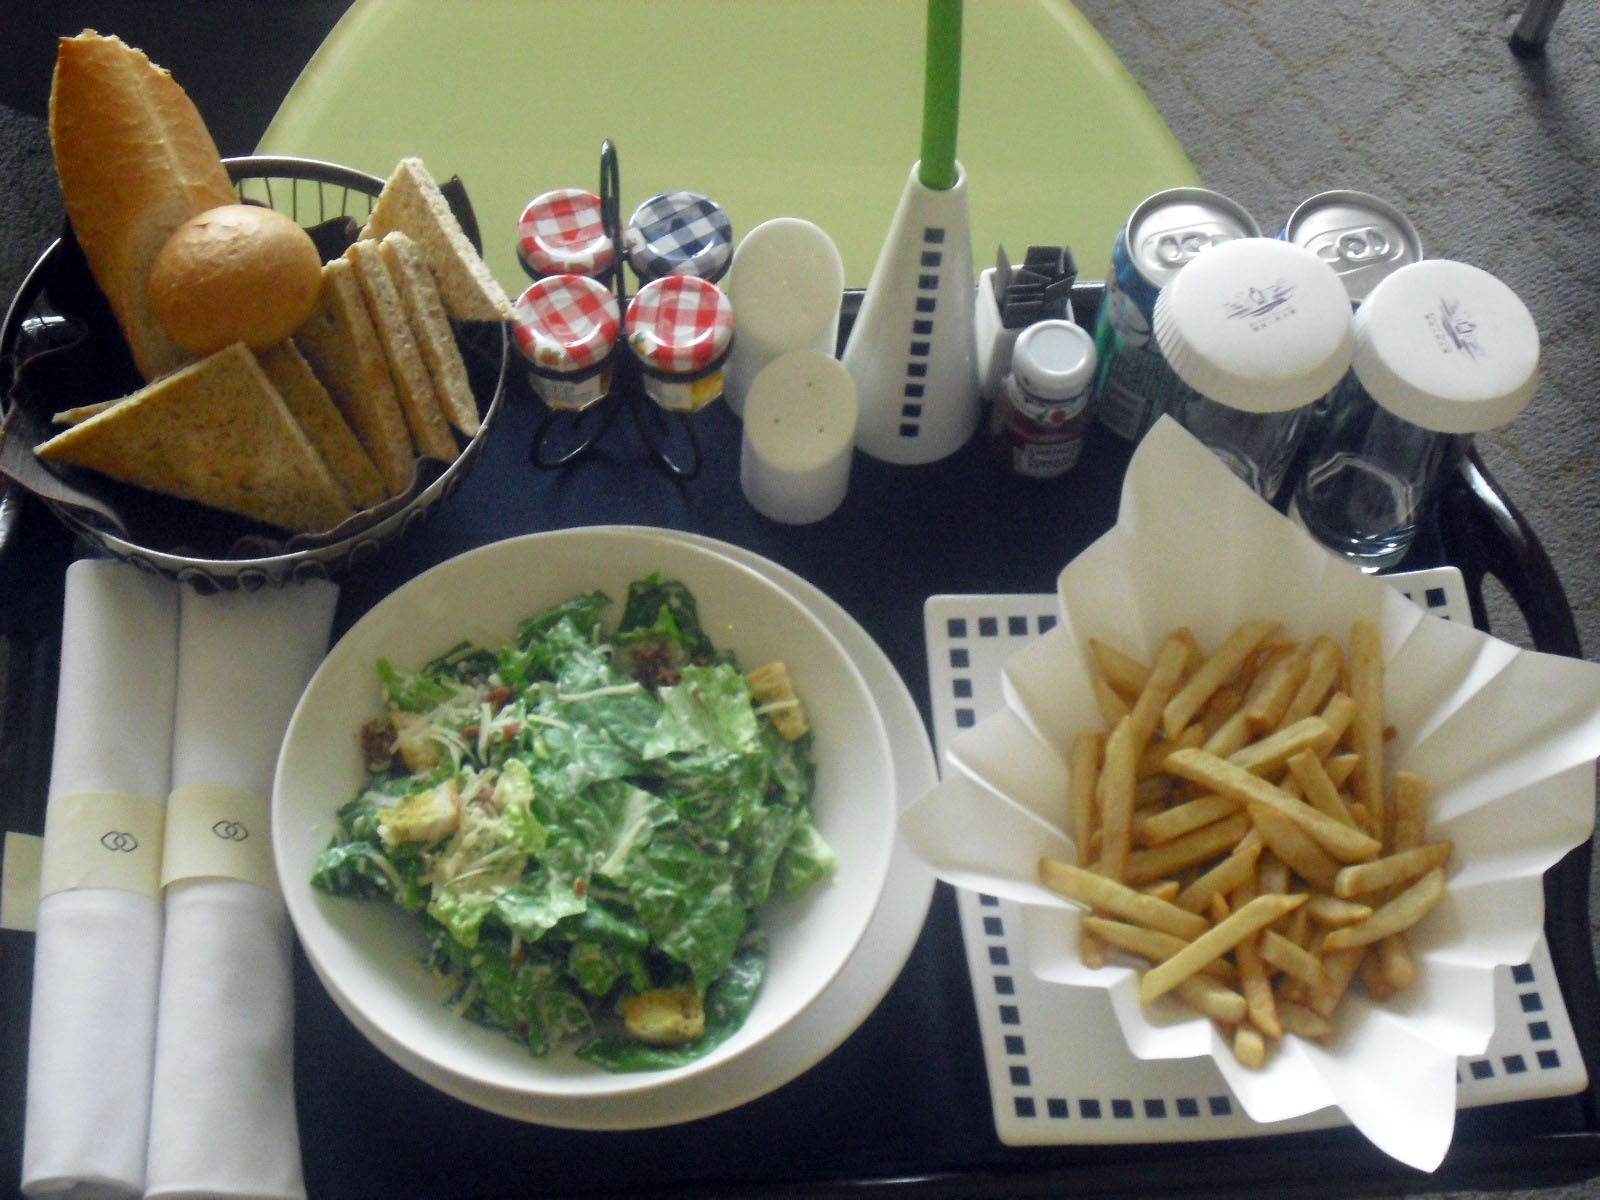
 Here are a few of the room service meals Abby enjoyed (to a total of $100 for the day! and all I got was some toast and a sprite)


Here is the part of the bathroom I wish I got to enjoy....


Here is the part of the bathroom, I actually got to "enjoy".....


On the second day in Xi'an, we went to the Shaanxi Museum and the Terracotta Warriors which made up for the whole horrible ordeal on day one.

As for the Terracotta Soldiers, there is nothing more I can say other than WOW.


 This last picture shows that although they have excavated thousands of soldiers, there are still thousands more to uncover....

 I recommend doing some online research about these if you don't know the story. It's simply amazing and unbelievable how old they are and why there are there.


I'm not much of a museum person, but the real reason we went to China was so Abby could learn about the culture.  There is no better way to learn about a people then to see their history and this is found in Museums.  She thoroughly enjoyed this part of the trip and it made me happy to give that to her.


 Yes, these are REAL gold pieces....


Before we headed back to the hotel, we went to the Dyan Pagoda (or Big Wild Goose Pagoda).

This was built to store ancient Buddhist manuscripts that were brought back to China from India via the Silk Road.


It is still used today.


If I have the chance to go back to China, I will definitely make sure I get back to Xi'an.  We missed so many things that we wanted to see (ancient wall, bell tower, Tang Dyansty show and Dumpling Banquet).

Last stop, Shanghai....